
A Beginner's Guide To Night Photography
Have you ever wanted to learn night photography?
Expanding your photography repertoire to include night photography can be a lot of fun. I love the challenge of taking the existing light and creating an image that is artistic, eye catching and hopefully even mesmerizing. Although it’s quite different from portrait photography, I’m here to give you some tips that will hopefully get you started on shooting your own night scenes.

1. Tripod and Cable Release Cord
A tripod is a must. In the absence of light, your shutter speed will need to be very slow so that your camera’s sensor can take in as much light as possible. If you are holding your camera or have your camera on an unstable surface, all of your attempts will be blurry. A sturdy tripod is your first step to successful night shooting.
If you do not have access to a tripod, or if you happen to be out and about and you didn’t bring it with you, then cheat! Look for something that is very stable and flat. This can be anything from an outdoor cafe table or chair, a park bench, the hood of your car, a flat rock or even the ground. Sometimes, if you are using another option other than a tripod, you will most likely need to angle the camera. There have been times when I’ve been caught without my tripod and I have used my cell phone or a book, propped under the lens so that my camera is angled upwards. It works in a pinch, but bottom line, a tripod is much easier and more efficient to work with and you’ll be able to easily get the height and angle that you desire.
Also, a cable release cord or a wireless remote is the best choice so that you do not have to touch the camera to release the shutter. Any time you touch the camera, you will inadvertently shake the camera and cause your image to be blurry. If you don’t have a cable release cord, you can set your camera’s timer. Please refer to your camera’s manual as to how to set the timer, as each model is a little different.

2. Disable VR and engage Live View
You will need to make a couple of simple camera and lens adjustments to reduce further camera shake. There are two settings that you will need to change in order to keep your camera from internally making any movement. The first is on your lens. If you have a lens that has VR, which stands for vibration reduction, you will need to switch this off. This seems counter-intuitive, because the purpose of VR is to help reduce shake when you are holding it in your hands. If you have it on a tripod, you have already taken away the shake. The VR mechanism, though, is still trying to compensate for that shake and will add slight movement to the image if not disengaged.
Another switch you will need to make is having your camera in Live View. This is very important because when your camera is in Live View, the mirror is automatically locked up. If you are not in Live View, the motion of the mirror when the shutter is released will cause shake to your camera and will affect the clarity of your image.
You will also need Live View in order to focus. Move the little focus point around to wherever you’d like to focus and focus accordingly. You can also use the digital focus if needed.

3. Lens Choice
For night photography, a wide angle lens is best! Including more of the scene is much more eye catching and dynamic. I love using the Nikkor 14-24mm, but I’ve also had great results with my 35mm. If you’d like to find out more about different focal lengths, click here. Also, don’t forget your lens hood. The lens hood will protect the shot from lens flares that are outside of your frame. If you don’t have a wide angle lens, don’t let that stop you! When you are first practicing, go ahead and use whatever lens you already own.
4. Settings for Night Photography
Much of this depends on what you are shooting, how much ambient light is available and the effect you want. To get you started, first, set your ISO to 100. In some cases, having grain is good. In a subsequent article we will talk about shooting the night sky, in which your ISO will be much higher. In this sort of night photography, keeping your ISO low will produce beautiful, crisp colors with very little grain.
As far as exposure and aperture, start with 15-30 seconds at f8-f16 and see what you get. If you decide that you want a longer exposure to bring out the lights more and blur out any bystanders, then try 30-60 seconds at f16-f22. If you want to stop some of the motion, then use a faster shutter 1/10-1 second at around f8. These are just guidelines to start out with. After you’ve practiced a little, you’ll soon be able to figure out on your own, based on your available light, what you’ll need to adjust. If you are new to photography and want to learn more about the relationship between ISO, exposure and aperture, I encourage you to check out this article on the exposure triangle.

5. Practice, Practice, Practice
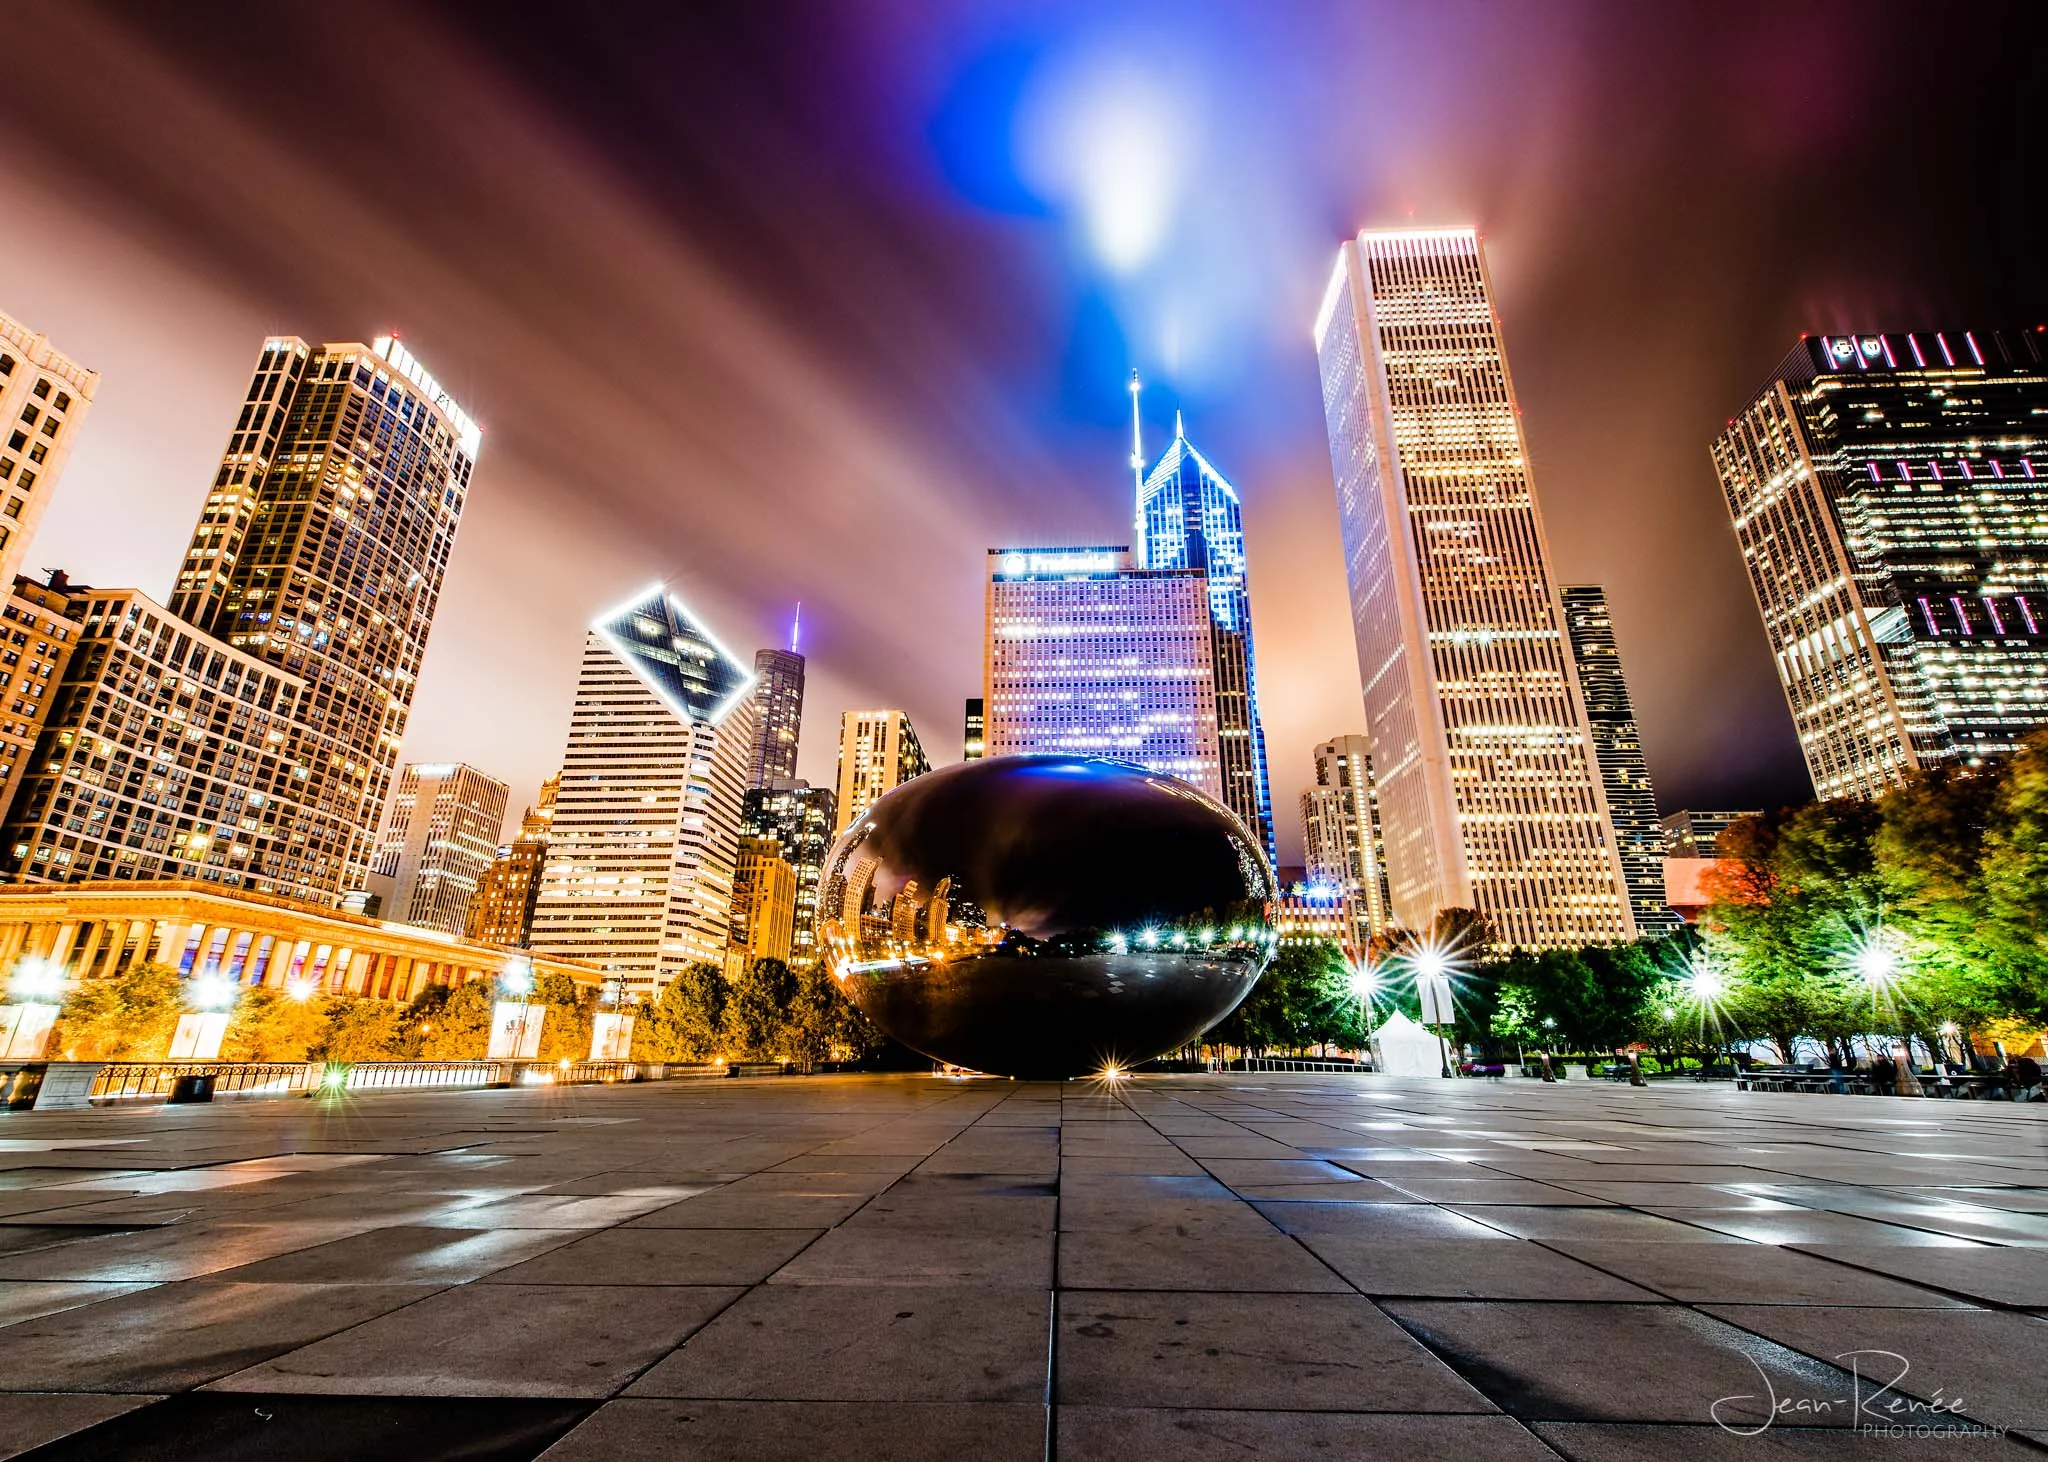
This is the fun part! Just go out and begin. You will quickly find out how fun it can be to photograph the night scene. Don’t forget about composition. Try different angles, use foreground, look for leading lines, etc. If you are standing amongst tall buildings, then lay your camera on the ground lens up! You don’t need to live in a city to explore night photography. Look for the available light wherever you are. Street lights, patio lights, and Christmas lights are a good place to start. Look for water which reflects the lights and gives a smooth, glassy look when your shutter is slow. Bottom line, have fun with your night photography while you adjust your settings and experiment with different angles.
Although photographing the night presents a different set of variables than during the day, it won’t take you long to get the hang of it. Our world is so beautiful at night! I hope you are encouraged to go out and try this on your own.